I’ve talked before about the importance of documenting what you do. But sometimes that is easier said than done.
Finding the right gear, knowing how to record, having the time to transfer files, and finding a way to publish your documented content can be overwhelming. Figuring out how to document my work is something I struggled with for years, and it was the little, annoying friction spots that kept me from getting my work out there.
With the motivation to start my YouTube channel this semester, I worked to find processes that would make managing the documentation process possible. You’ll find the result of a semester’s worth of finesse below.
Gear
This is not an extensive post about gear– because it doesn’t need to be. Don’t get caught struggling to make the investment in a fancy camera or a boom pole. What helped me was understanding that
- the quality of your equipment matters far less than the quality of your content, and
- the quality of video matters far less than audio (in case you don’t believe me, watch this!).
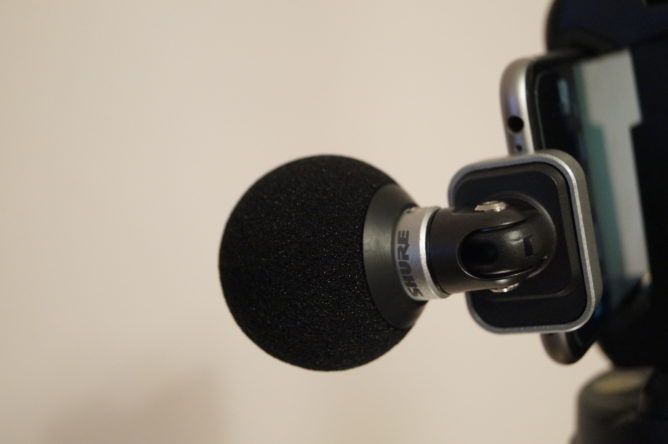
I use the Shure MV88, a microphone the plugs into the lightening port on my iPhone. It is compact, comes with a case, and even has an app I can use to monitor the sound levels coming into the microphone. Anywhere I go I can record decent audio by just plugging it into my phone and using the “voice memo” app to record.

I use my iPhone 6s to record video. The camera on the back of the iPhone can record at a good quality, or at least a quality that most wouldn’t be offended by. If you already have access to a good quality camera on a smart phone, I highly recommend just getting started with it. As I said before, the audio matters much more than the video quality.
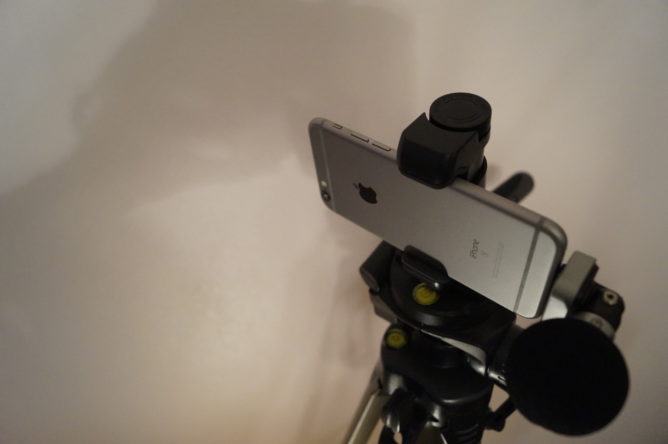
One of the most important elements of my setup is a tripod I sourced from my Dad, who wasn’t using it. Paired with this tripod mount adapter for iPhone, I’m able to easily stabilize my camera. If a good one isn’t available for you to borrow, I believe spending money on a good tripod is a sound investment. Because recording my own teaching is a one person job, and it would be inappropriate to fiddle with my setup during the lesson, it is invaluable to have the tripod to set up and leave for hours of teaching. Mine is tall and has many adjustable elements, which gives me the opportunity to capture all aspects of my teaching and my students’ performances.
Process
When I wanted to record I would set my phone and mic up on my tripod via the phone stablizer. Because my phone doesn’t have infinite storage space and I usually record 30 minute lessons, I change the frame rate in Settings > Photos & Camera > Record Video to 720p HD at 30 fps. For 30 to 60 minutes of recording I make sure I have 4-6 gigabytes available by checking my Settings > General > About > Available. Of course, anytime I want to record a short, higher-quality video I increase the frames per second.
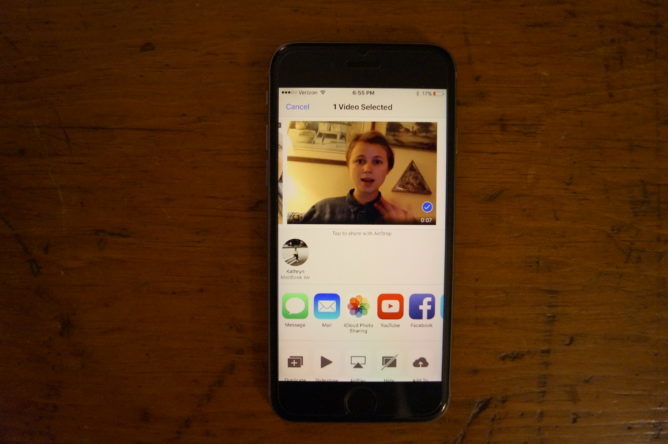
After I record the video I use airdrop to send the video over to my MacBook Air via bluetooth. It usually only takes a few minutes, so I can transfer the files between lessons. Once the lesson video is on my computer I can delete it from my phone and record another video.

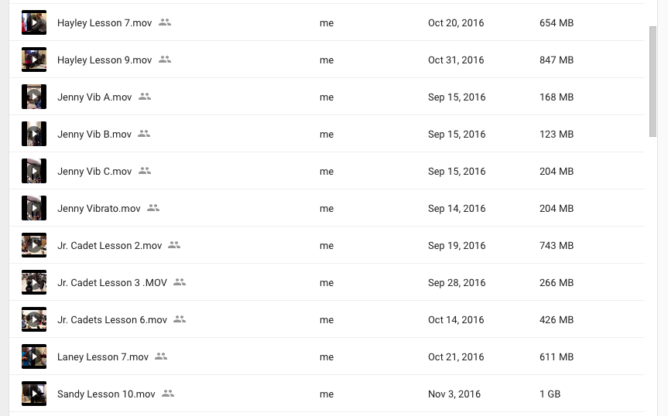
On my laptop I open the airdropped video in Quicktime and export it as 480p, which dramatically reduces the file size. However, if I kept all the video files on my laptop it would crowd up my hard drive space. Instead I take advantage of the access to unlimited Google Drive storage through my University of Texas account. Here I have saved over 60 full length lesson videos!

If I want to do something with the video — edit in Premiere, upload to youtube, or steal a frame to post on Instagram for example — I just download back to my hard drive from Google Drive.
And that’s it!
Maybe you want to record your students’ recitals. Perhaps the next step to improving your teaching is taking videos to analyze your effectiveness. Or it could be time to make a promotional video for your studio, but you don’t have the resources to hire a professional photographer. Please keep this process in mind. Please remember that documenting doesn’t automatically imply complication or expense. With a few minimal investments, a simple step-by-step like this, and a little bit a practice you can share your journey with the world, too.

